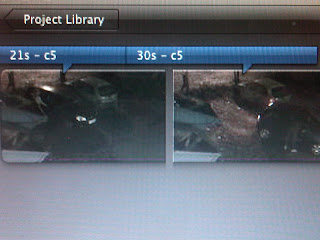
Today my group and I uploaded and edited last night's filming. After looking into different types of CCTV footage, I knew which kind of style I wanted to go for - black and white. To do this I double clicked the clips I wanted to change and selected the 'Black & White' option. This looked good, but it seemed too clear.
In most CCTV pictures I have seen, the image is not usually very clear so to do this we adjusted the Video effect - found on the second tab of the window after double clicking the clip. We then adjusted the exposure which made the image lighter and therefore a little more distorted and blurry.
We then noticed that the handle of the window we were filming out of was in the shot at times, so we cropped the shot so that it could no longer be seen.
We then inserted the title named 'Upper' and filled in the date, time and camera number - I got this idea from some of the CCTV images I have found whilst researching. For the first scene, I put 'C5', short for Camera 5, then the time, with '24H' after it to show it is a 24 hour clock, then the date.
Once this was done, we watched the clip back and I felt something was missing. In all the images of Google of CCTV footage, the time always included seconds, and without the ability to do this on the effects I offered to make each title 1 second long and change the time, with the seconds increasing in each one. This took some time but once complete, it looked really good.
I did this by changing the duration to 1 second. I then switched the 'Fade In/Out' to manual and put it to 0.0s. This way, each title linked together without a gap in between which looked very wrong before we fixed it.
Finally, I searched through the fonts to find one which I thought matched the real ones I had seen. 'Synchro LET' was the most convenient.


No comments:
Post a Comment